How to Plan A Strolling Art Show
The Who & What:
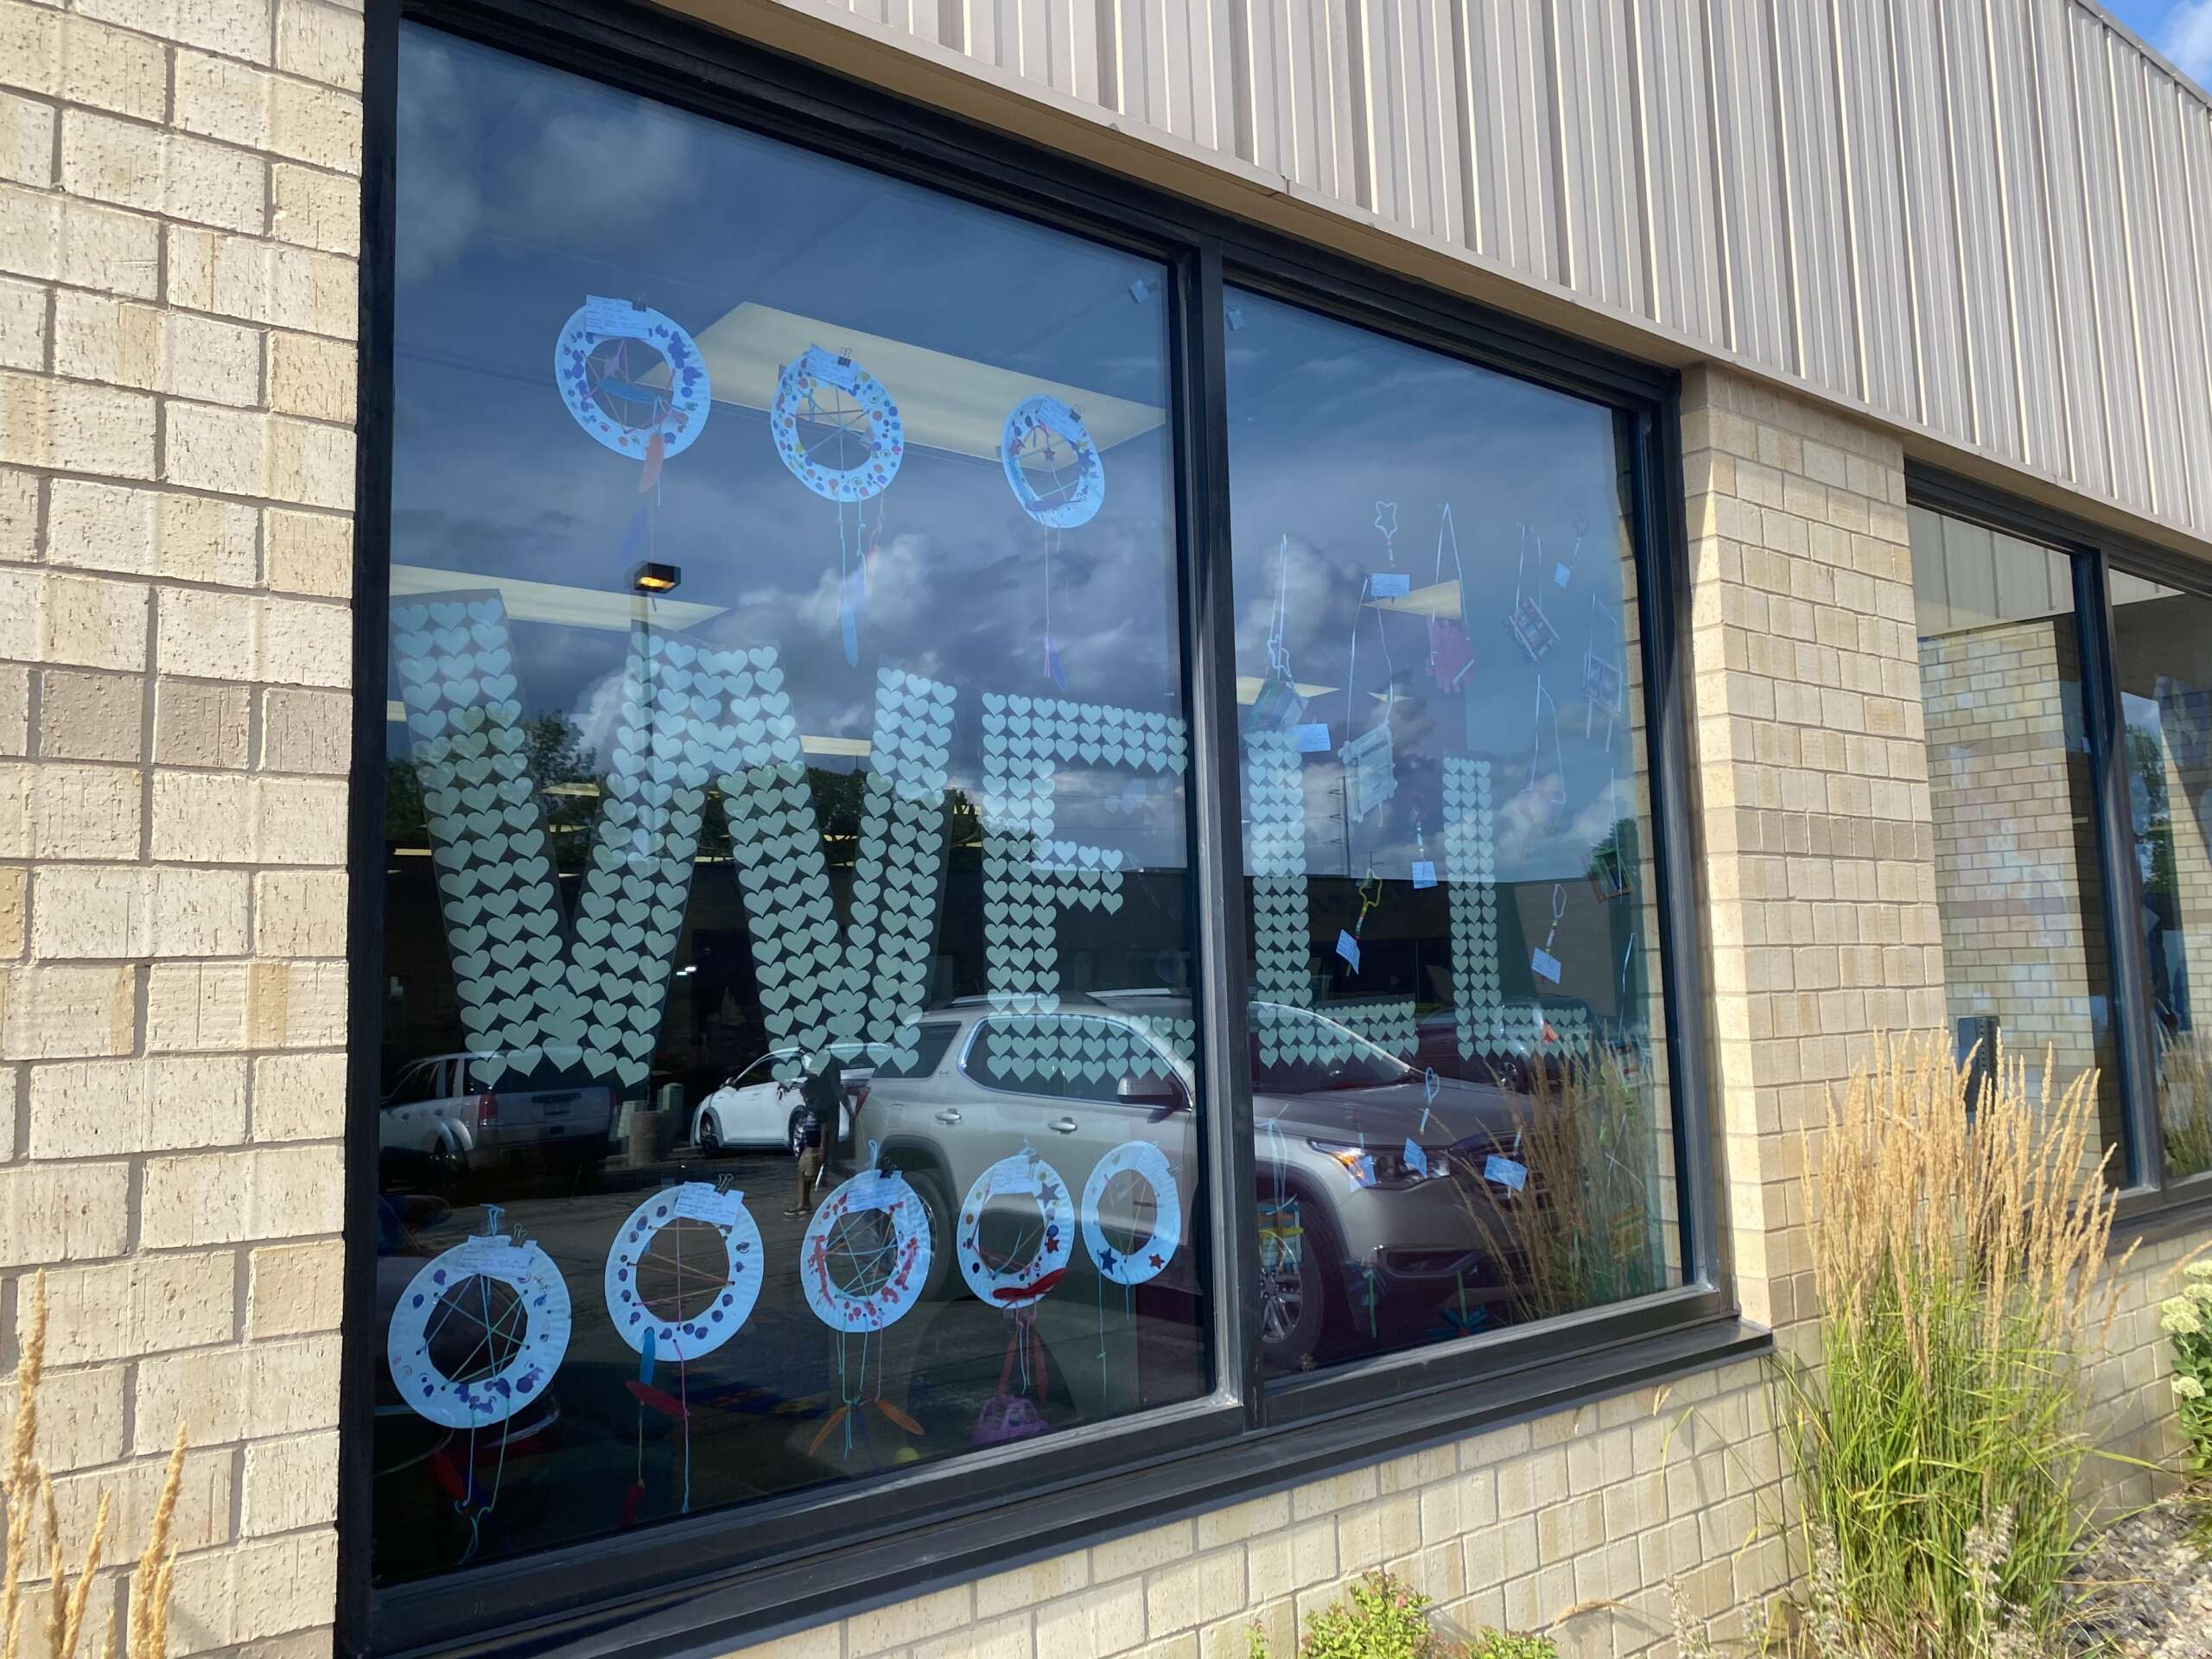
This year we held an outdoor “Strolling Art Show”, a modification of our typical annual Art Show.
Due to safety measures related to COVID-19, only children, teachers and staff are allowed inside the school. This means many of our parents and families haven’t been able to see in-person all of the wonderful creative activity going on inside our walls recently.
We definitely didn’t want to cancel our annual event, so we needed to figure out a way to showcase all the great work our Wellies have been doing these last several months so that families could enjoy it. And this is how our first “Strolling Art Show” was born!
Where?
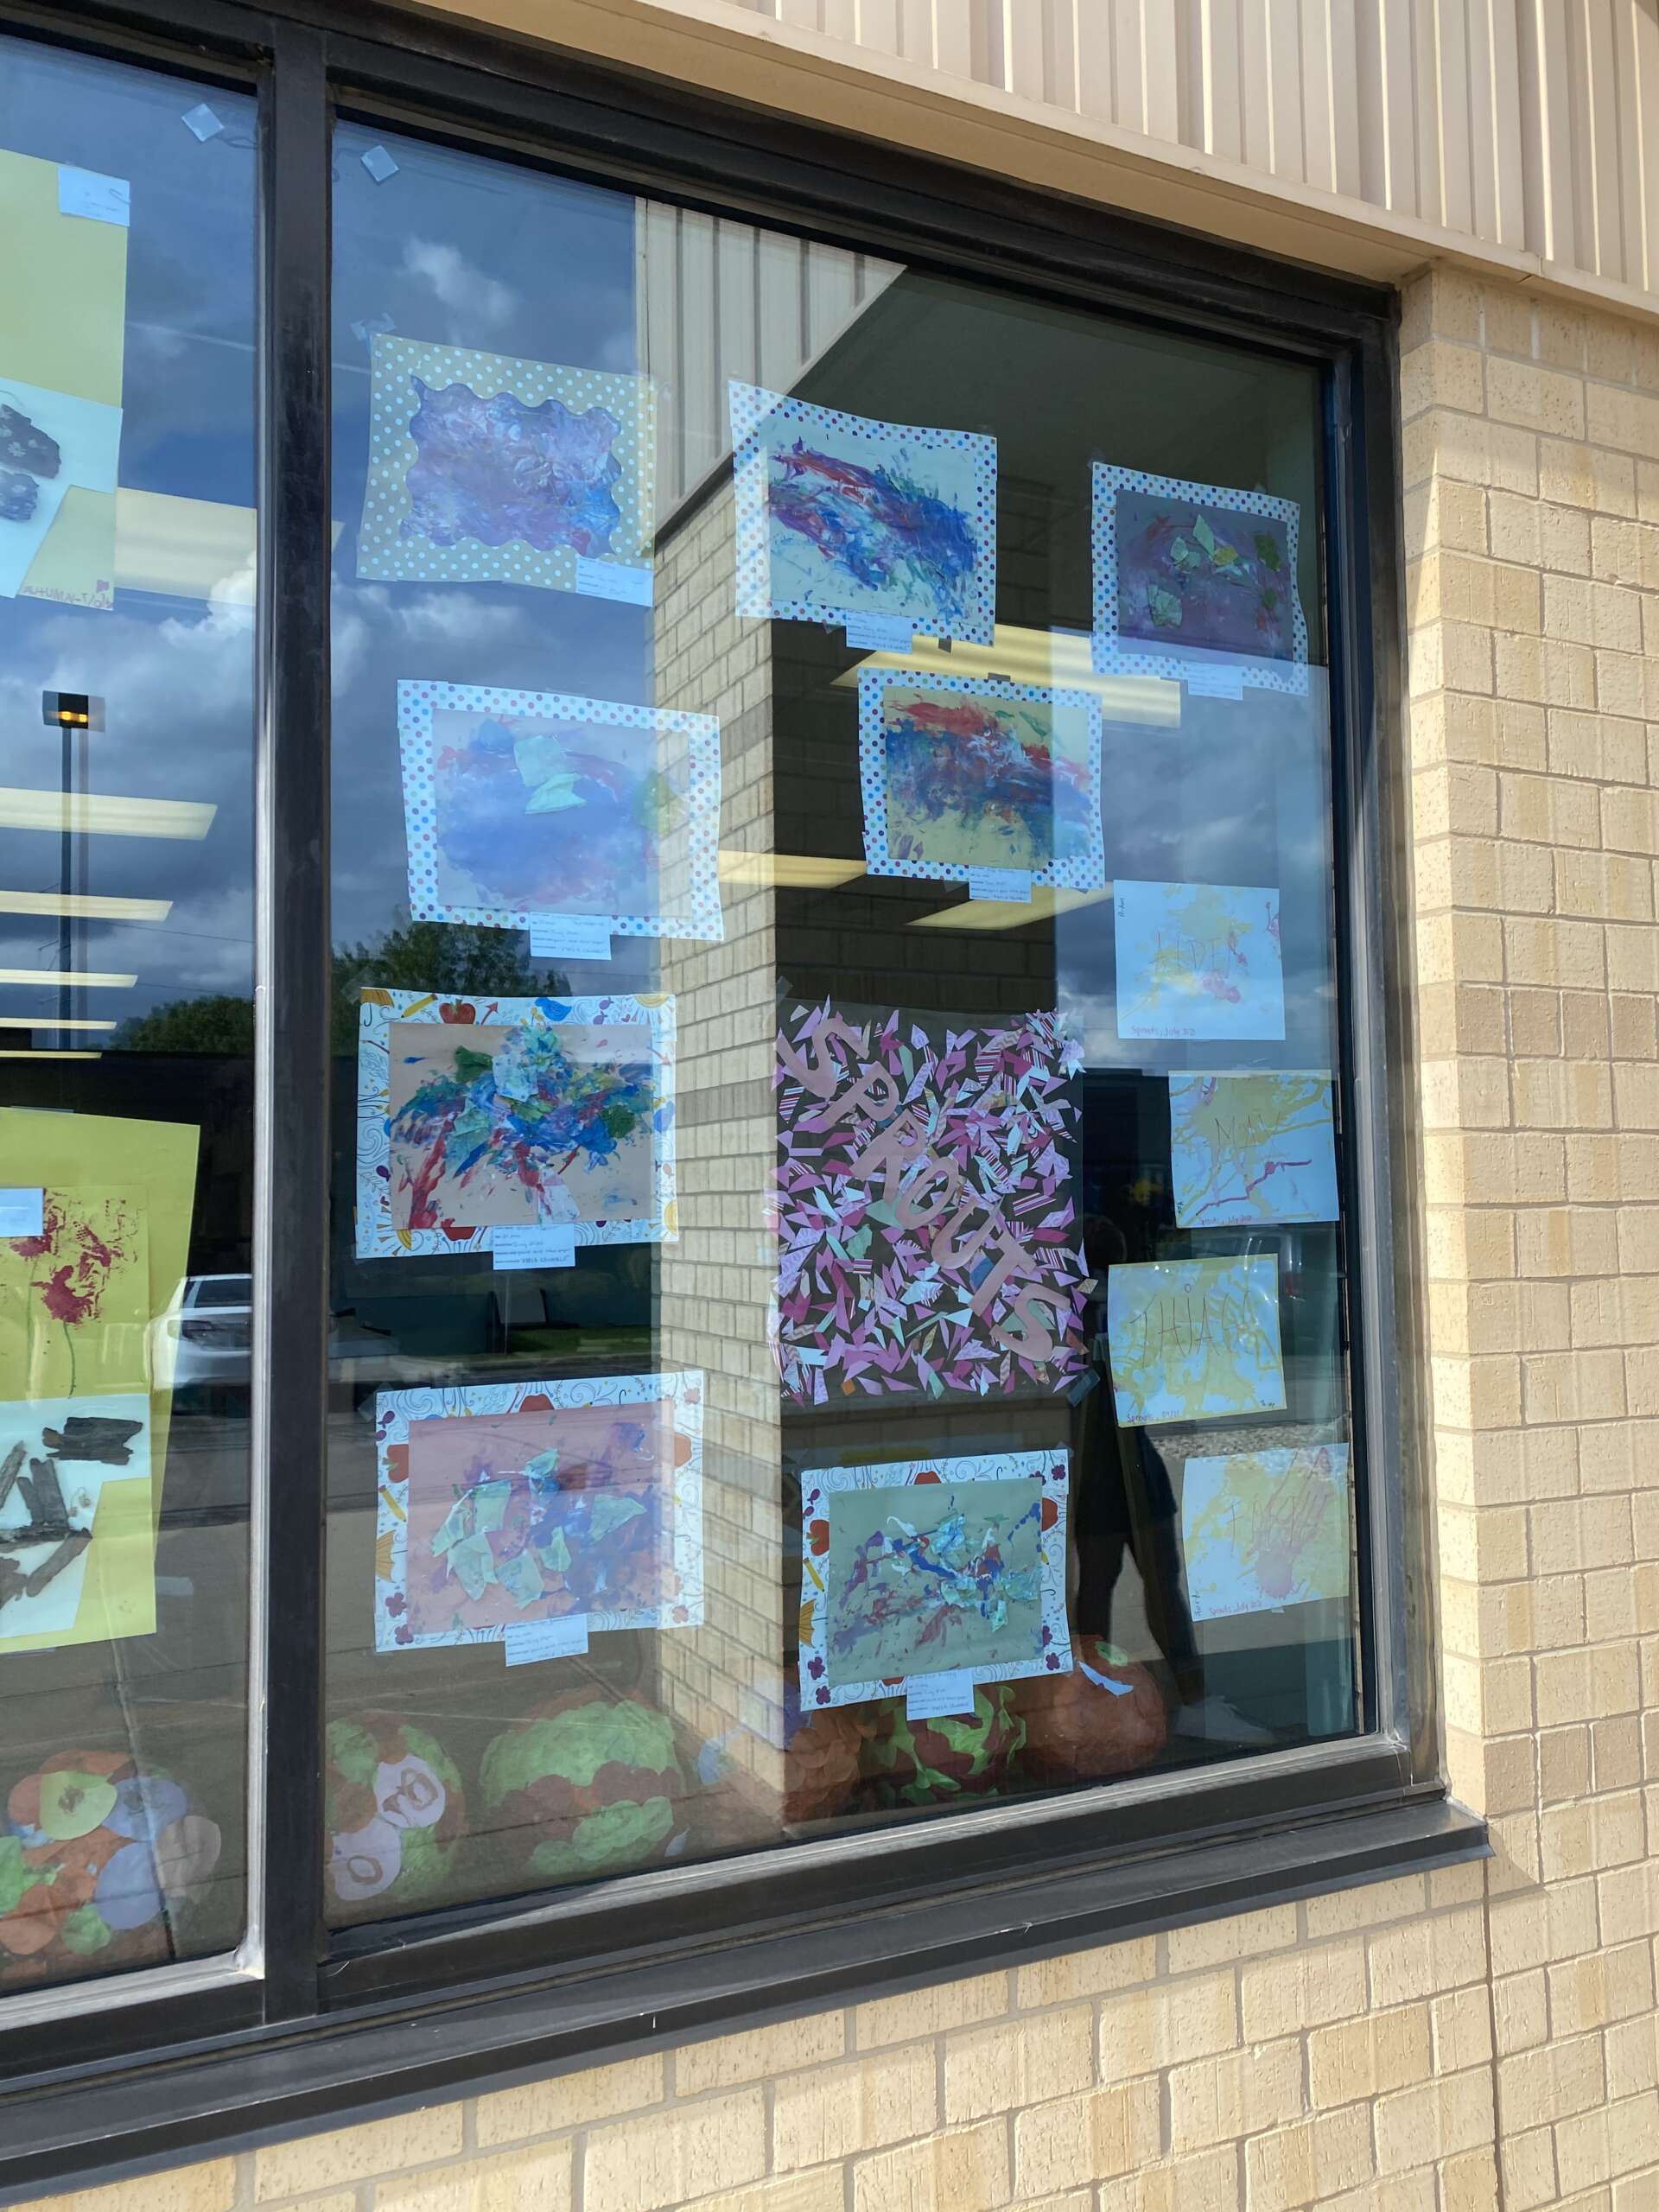
We have huge windows around our school building, as well as a sidewalk that goes along the front. This is truly ideal for a strolling art show because we are able to tape up art inside for display. If you don’t have large windows, we suggest displaying art on poster boards that can be held on large easels and utilizing any windows you do have to tape art on, as well as doors. You could also tie a line from one standing object to another and use clothespins to hang the art.
When?
We had the pieces up for a full week to allow as many people as possible to view the artwork. Families were invited to stroll along the sidewalk at drop-off and pick-up times.
If you end up using easels or other equipment to display art outside, store them in a place that is easy to access so that you are able to bring items inside and outside in the evening and in the morning, or in case of inclement weather.
Pro Tips
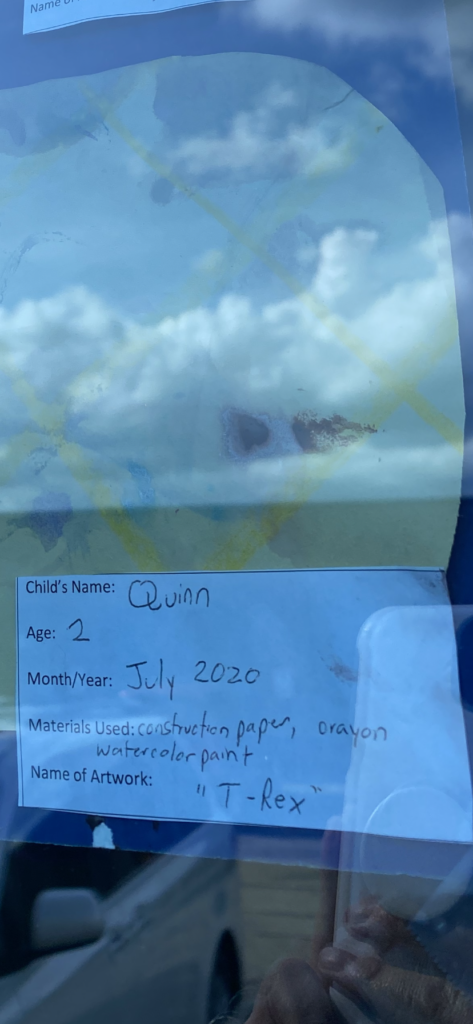
Use curation cards so that guests are able to see who created the piece, as well as their age, what medium(s) they used, and what the name of the piece is.
Send an invitation to families a few days ahead of the kick-off day. There’s really no need to RSVP for this type of self-managed event, and guests will already be “attending” when they drop off or pick up their children, which makes everything easier on the event planners!
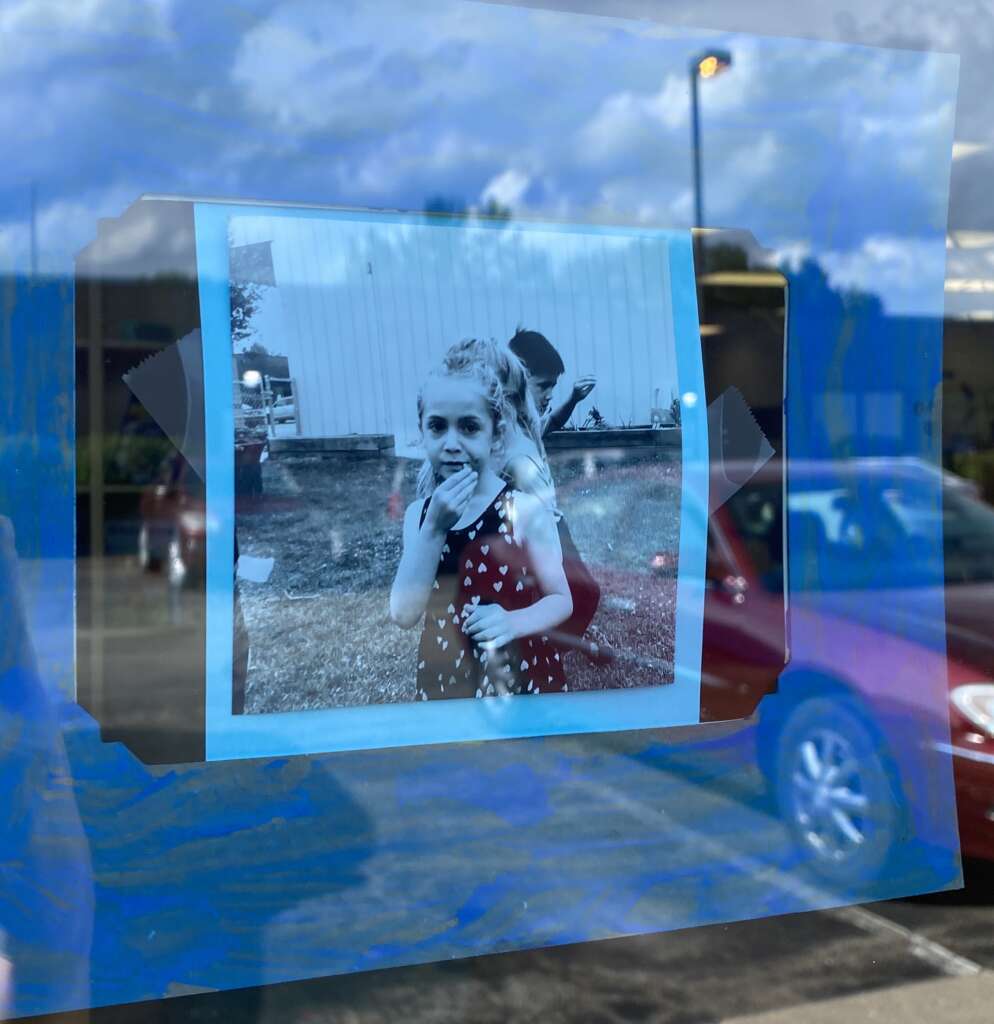
Have each age group make a collective art piece! This gives children a chance to work together toward a common goal, and for guests to view community artwork. Our 4-5 year olds did a photo project where they spent a few afternoons taking photos on nature walks, and portraits of each other. It turned out awesome!
The Month Before:
Start collecting artwork for the show and store it in a large bin. Make sure that the child’s name and date is on there, and ask them to title their pieces. Write this all either on the back of the piece or start using the curation cards right away (and attach the card to the artwork with a paper clip). Begin thinking about what community/group art project you want to do with your students. Click here for some ideas.
Create some guidelines for your teachers. We suggest having 3-4 pieces (or more, if your space allows) contributed by each child. A variety of themes and materials looks great on display.
The Week Before:
Begin taping up artwork (or creating your displays). Decide how you want to group the artwork. Are there themes that emerge? For example, two age groups did space-inspired art. One group made planets out of coffee filters, and another created spaceships out of paper shapes and other materials. So, we displayed those pieces in the same window!
The Day Before:
Put up any last minute projects and readjust pieces as you see fit. Check out what the displays look like from the outside (pretend you are a guest!) and fill any spaces or rearrange pieces so they look balanced and are easy to view. Take a stroll yourself and record as you walk, snapping some photos of the pieces that are freshly up (who knows when that tape might give out!).
The Day Of:
Send a reminder to families that the art show begins today! Do this either by sending a message through your communication app (i.e. we have Brightwheel) or via email.
Things we wish we would have done:
Music! If you have any way to play music outside, whether it’s a portable Bluetooth speaker connected to a cell phone or another device, or an actual outdoor speaker system, play some relaxing tunes to create some cool ambiance. If you have a way to keep the speaker charging throughout the day so the music stays on from drop-off to pick-up, even better!
Photos of the Process: It would have been wonderful to print off and display some photos of the children working on their artwork, especially the community pieces. While we sent families real-time photos through the Brightwheel app, it would have been a great touch to have them paired with the art pieces.

